Modern Platform Bed
Oh man you guys, it has been a week!
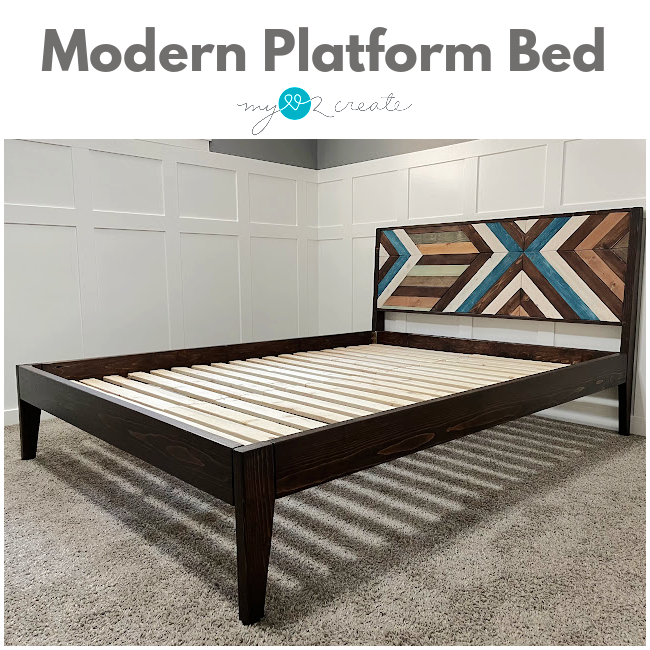
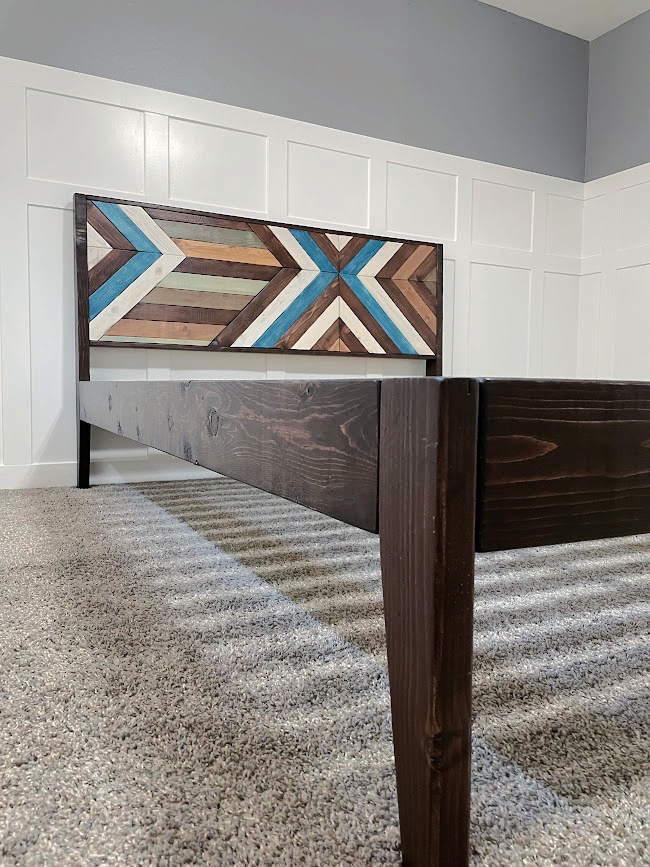
I am SEVERAL days behind on the one room challenge but I am finally getting to my week 7 post, I am excited to share my Modern Platform Bed! Well actually it is my son's modern platform bed...
So fun right?! I kind of love it, and so does my son, which is good. Success!I will for sure post plans for this coming soon, but for now here is a quick picture tutorial of the build.
*this post contains affiliate links, read more.
I wanted a simple modern bed and we decided to do a queen size since he is not sharing a room anymore, we were just talking about how he is the first of my kids to have a bed bigger than a twin, crazy! I guess when you have six kids that is normal, with only three at home we are moving into the world of bigger and better.
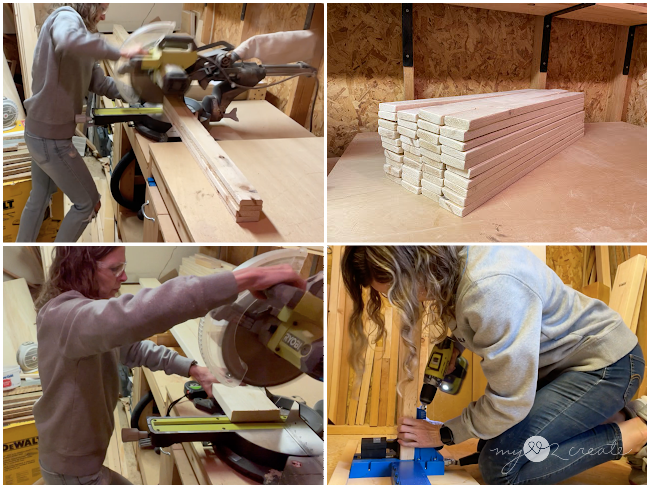
After designing the bed and buying the wood I set to work cutting. I cut the bed slats in stacks of 4 boards together, since I had to cut 40...ugh! Cutting was fine but sanding all of them almost killed me, seriously. Sanding and I have a love hate/relationship, and sanding always wins, cause is has to be done, a necessary evil.I also cut all the other boards for the bed to length and drilled pocket holes into the ones that needed them.
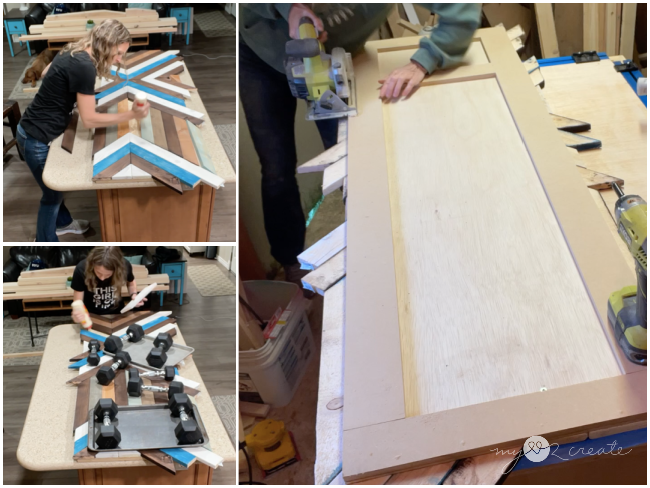
After the 2x4's for the legs were cut to length, I measured and marked to taper them for the bed design. I made the bottom width 1 1/2'' then tapered to the top. For the headboard feet, I did the same as the footboard on the bottom then left 5 1/2'' for the 2x6 support board, then tapered to the top which was measured at 2''. For the headboard I decided to try a fun design but I needed a frame to attached the boards to, so I used some scrap 1/2'' MDF and 1/4'' plywood to build it. I used my Kreg Rip Cut and Ryobi Circular Saw make the cuts I needed, this tool is SO useful!
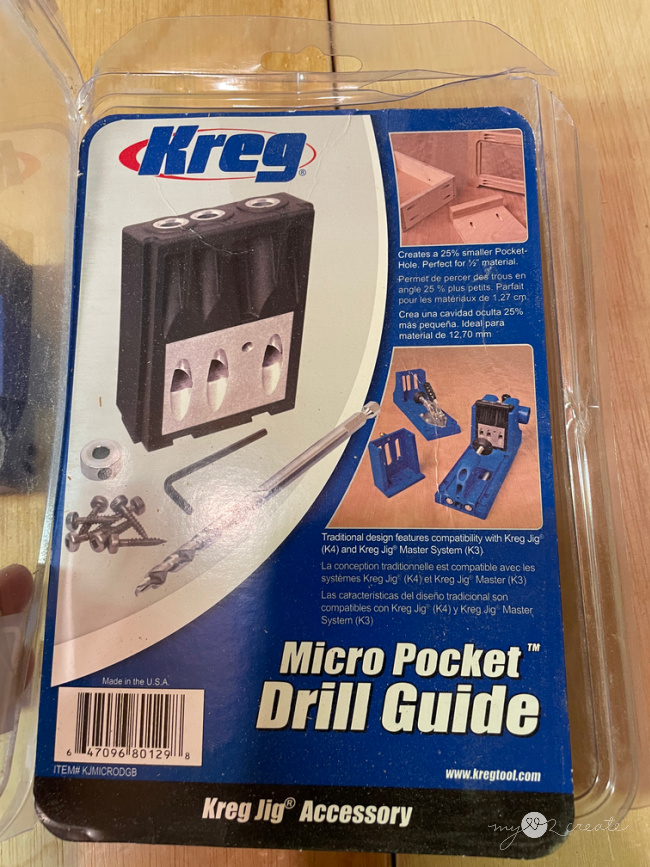
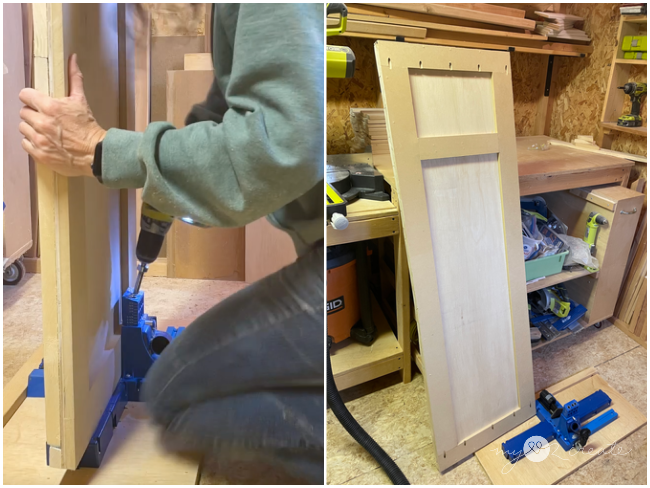
Since the MDF was 1/2'' I used my Kreg Micro Pocket Drill Guide, it makes a little be smaller pocket hole so the thinner wood doesn't split.
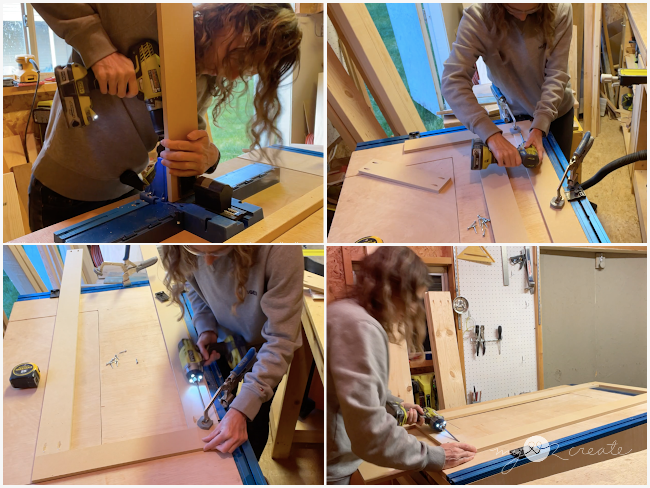
I drilled the pocket holes with my Kreg Jig this is the one I want but don't have yet and the Kreg Micro Jig guide then I started to build the frame for the headboard.
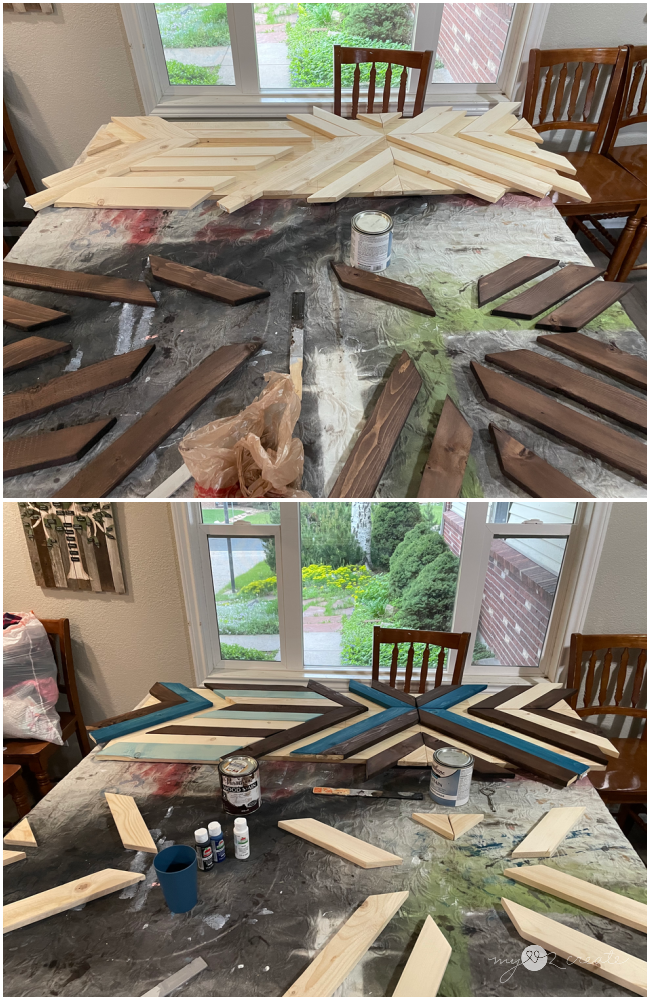
With the frame built, I added glue and then nailed on the 1/4'' plywood. Since I didn't have plywood big enough, I added a middle board so I could piece the plywood to fit.To create the design I measured and marked center lines, I also added a line 1/3 up since I knew the design focal point would not be center with the mattress on the bed. I cut all boards at 45 degrees and then placed them on the frame to make sure they fit.The process to stain was a little random, I wanted different colors of stain, so I started with the main color of the bed Rustoleum Kona. I did several boards in this color and then made a pattern with the white and blue (using a white wash technique with paint) and then stained the rest with random stains I had. I also stained the rest of the bed with Kona, not pictured.
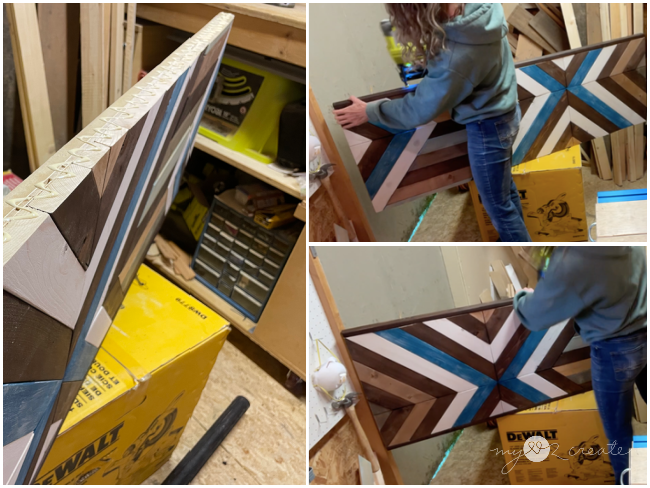
Once the boards were stained I used wood glue to attach them to the frame and then used weights to hold them in place (randomly) until the glue dried. Once the glue dried I used my Ryobi Circular Saw to cut off the excess around the frame.
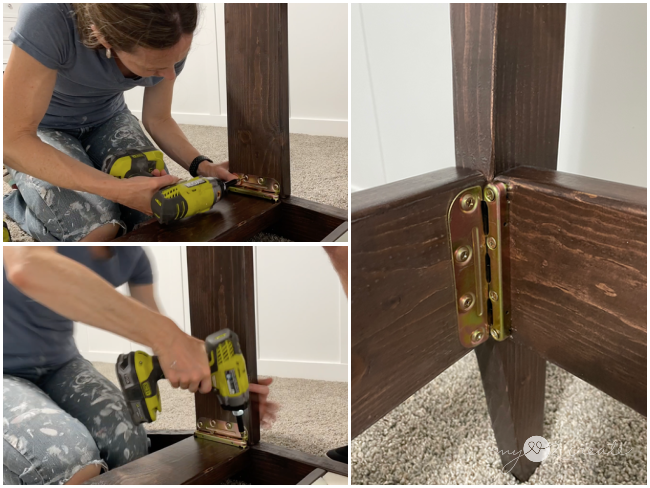
Now the frame was ready for pocket holes so I could attach it to the legs, since the thickness was now 1 1/2'' I set my Kreg Jig to that depth.I added wood glue to the top and bottom of the headboard, placed on 1x2's cut to length, and used my Ryobi Nail Gun and 2'' nails to secure them. They fit perfectly to trim out the edges of the headboard.And just like that I am ready to build! Ha! I wish it was just like that, it took a little more time, just a little. ;)In order to build the bed I attached the headboard feet to the headboard, then I attached the footboard feet to the side rails. Normally you would build the headboard and the footboard and then attached the side rails last, if you are just building with pocket holes this would be the way to do it. I, however, wanted to add Bed Rail Brackets so for this bed design, and so I had to do it a little differently.I added the bed rail brackets to the headboard and side rails at the top, and then the footboard board had bed rails attached to the feet.These Bed Rail Brackets make it easier to put the bed together and take it apart if needed. I added bed supports to the side rails and the middle (not pictured) using 2x2 boards and a 2x4 foot in the middle of the center support board, then I used a spacer to add all 40 bed slats, phew!And that's a wrap folks! I love how simple it is.And the tapers on the legs just make me happy, adding a hint of character, that little modern twist.I wasn't planning on doing a design on the headboard at first, but at the last minute I couldn't help myself. I HAD to something creative, it is pretty simple to do, but takes more time. Why not add some character, right?! Even if a big chunk of it will be covered by a mattress...oh well, I still wanted to do it, just cause it was fun! I know I am weird.Once the boards were stained I used wood glue to attach them to the frame and then used weights to hold them in place (randomly) until the glue dried. Once the glue dried I used my Ryobi Circular Saw to cut off the excess around the frame.
Next week is the last week in the challenge and I am SUPER behind, real life is happening here folks, this room actually flooded this week so the new carpet you see, had to be pulled up, dried out, and then laid back down...yep lots of rain, and now you know why I am running late. It's all good, things always seem to work out in the end. :)
And just in case you need to get caught up on my progress for this challenge here are all my posts so far:










0 comments
Your comments make me smile! I love to hear what you think!