DIY Console Table
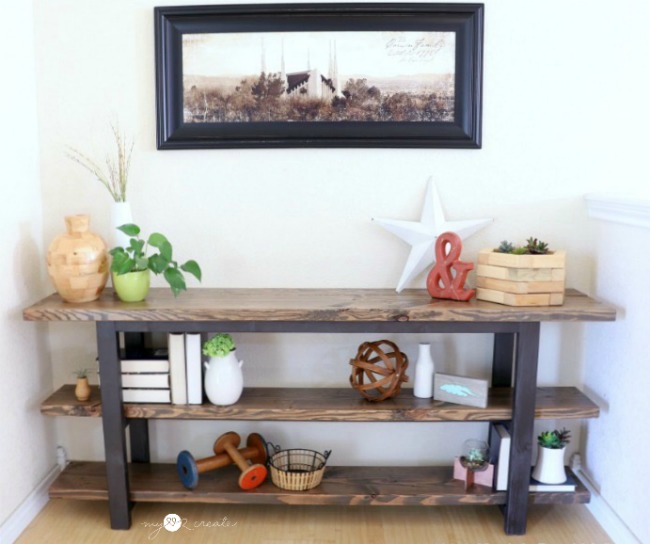
I am super excited to share my DIY Console Table with you!!
And the good news is that it is a simple build that has a beautiful impact in your home!
I am also sharing this over at Remodelaholic.
How to build a DIY Console Table:
Below is the overview of how to build the Console Table. Get the full plan with all dimensions and cut lists here.
This post contains affiliate links, read more.
Supply List:
2- 2’’ x 2’’ x 8’ boards (actual- 1 1/2’’ x 1 1/2’’ x 96’’)
2- 2’’ x 3’’ x 8’ boards (actual-1 1/2’’ x 2 1/2’’ x 96’’)
1- 2” x 6’’ x 8’ board (actual-1 1/2’’ x 5 1/2’’ x 96’’)
3- 2’’ x 10’’ x 8’ boards (actual- 1 1/2’’ x 9 1/4’’ x 96’’)
Miter Saw or Circular Saw
Drill and Driver
Kreg Jig Hole System
Sander
Tape measure
Clamps
Miter Saw
Drill and Driver
Kreg Jig Hole System
Sander
Tape measure
Clamps
Step 1: Cut wood, drill pocket holes and sand
Cut all your wood to the specified dimensions using a Kreg JigStep 2: Build your sides
Build two sides by attaching your rails to your sides with pocket hole screws.Step 3: Add Aprons and Support boards
Using wood glue and 2 1/2'' pocket hole screws attach your top aprons and support pieces to your sides. Note: You will also add your middle support boards in the center of the top aprons (not pictured), I added it as a last minute support board.Step 4: At this point I did my finish on my frame and the top and shelf boards before I proceeded with the rest of the build, this is optional.
Step 5: Add top and Shelf boards to frame.
Attach all shelves with 2 1/2'' self tapping screws from underneath drilling through the side rails and supports.
You are done! Enjoy your beautiful new DIY Console Table!!
This is a really quick build, I bought the wood and had it built before my kids got home from school. Well technically I hadn't attached the top and shelf boards yet, but the base was built and spray painted!
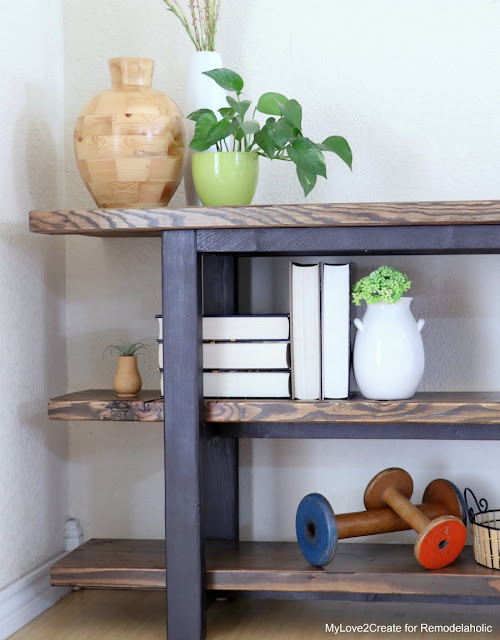
I love that you can get a high end looking piece of furniture for a fraction of the cost.
This is such a versatile piece too. I can be used behind a sofa, for your TV and media, or as an entry table.
Plus the satisfaction of knowing you built it yourself is also a bonus.
Happy building, and thanks for stopping by!


2 comments
Beautiful build on this diy console table Mindi! I love how it turned out. You're a master builder, ;)
ReplyDeletegail
pinning!
I’m confused why there’s a 70 inch 2x6 for the top and then 3 2x10’s for the shelves and top when there is only 3 shelves total. Am I missing something?
ReplyDeleteYour comments make me smile! I love to hear what you think!